- User Guides
- Getting Started
- Organization Chart
- Job Descriptions
- Four Key Functions
- Four Key Functions
- Sub Functions
- Adding Processes to the Four Functions
- Deleting Processes
- Moving Processes from One Key Function to Another
- Moving / Recording Processes within a Key Function
- Printing Process Lists
- Process Color Identification
- Mark a Process as Complete
- Adding From a Process Library
- Process Documentation Tools
- Documenting Work Processes
- Edit Title and Objective of Process
- Creating New Process Tools
- Editing Existing Process Tools
- Delete a Process Tool
- The Deleted Folder
- Archiving a Process Tool and The Archive Folder
- Printing Process Tools
- Saving Process Tools
- Reordering Process Tools
- Inserting a Hyperlink
- Building Work Plans
- Deleting Tasks and Expectations
- Editing Existing Tasks and Expectations
- Check Lists
- Scripts
- Upload Files
- Documents
- Custom Forms
- Policy Notes
- Video
- Audio
- Using AI to Build Process Tools
- My Processes
- My Employees
- Process Assignment
- Reports
- Account Administration
- User Settings
- Training Webinars
- How to Videos
- Contact Support
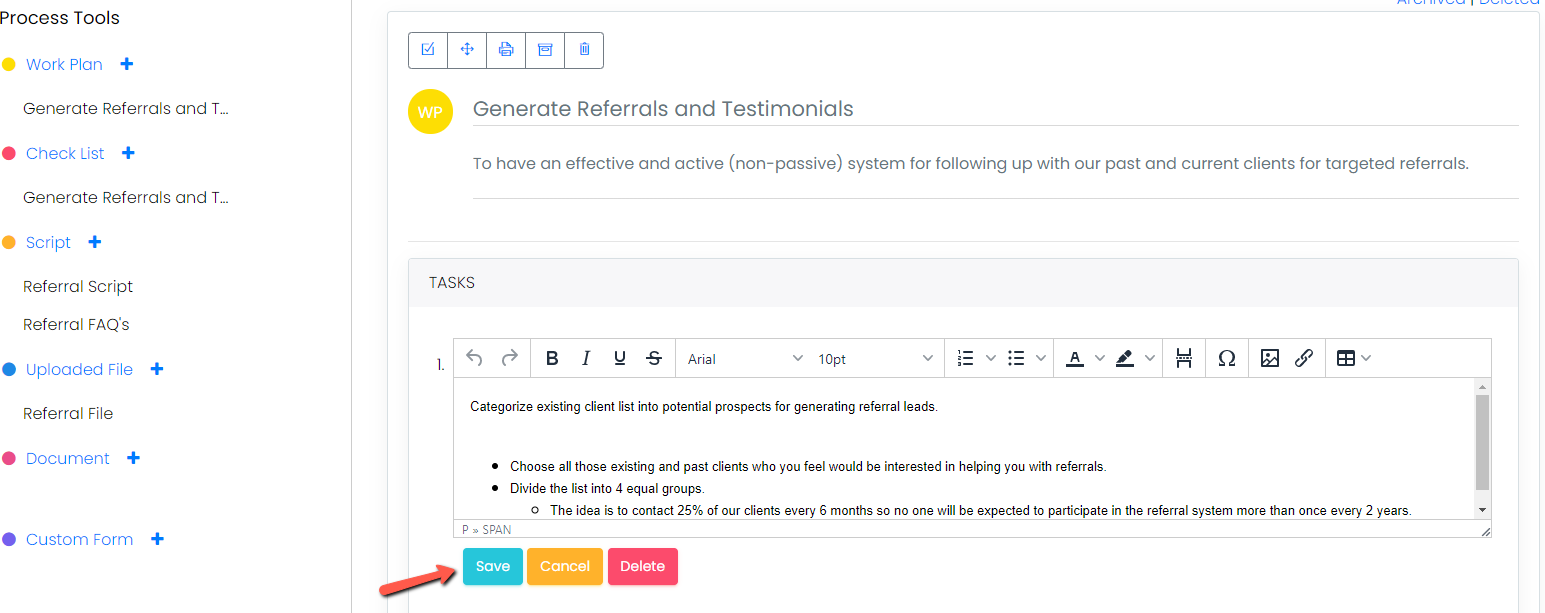
Work Plans, Check Lists, Scripts, and Documents:
- Click the “Save” button under the edit toolbox for each item.

Note: If you attempt to navigate away without saving, a warning will appear, prompting you to save, cancel, or delete your changes.
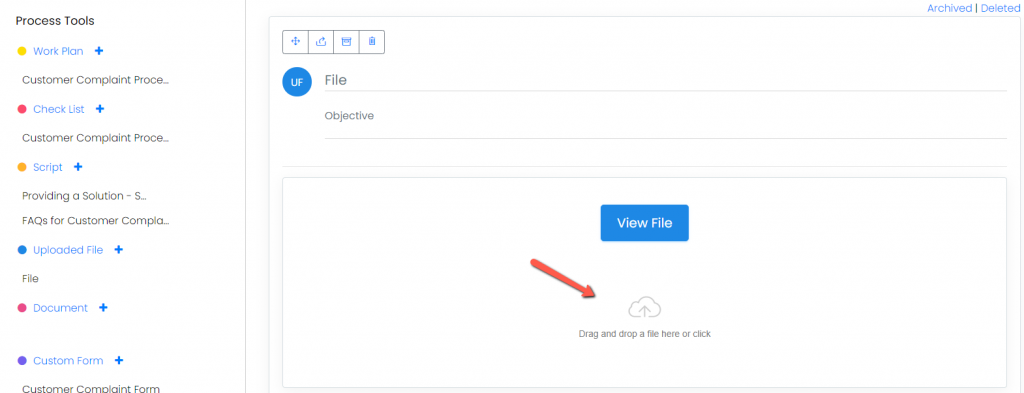
Uploaded Files, Custom Forms, Policy Notes, Video, and Audio:
-
- Uploaded Files: Files will automatically save when uploaded or dragged into the upload field.
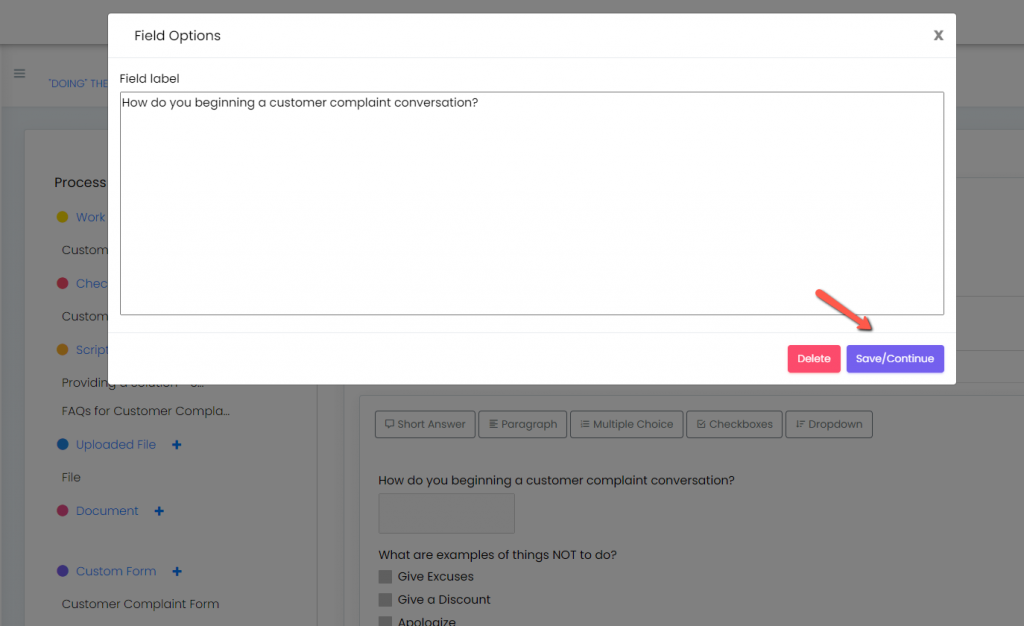
- Custom Forms: After selecting a field, you will see options to Save, Edit, or Delete. You must save changes before navigating away.
- Policy Notes: Click the “Save” button at the bottom of the policy note after creating or editing.

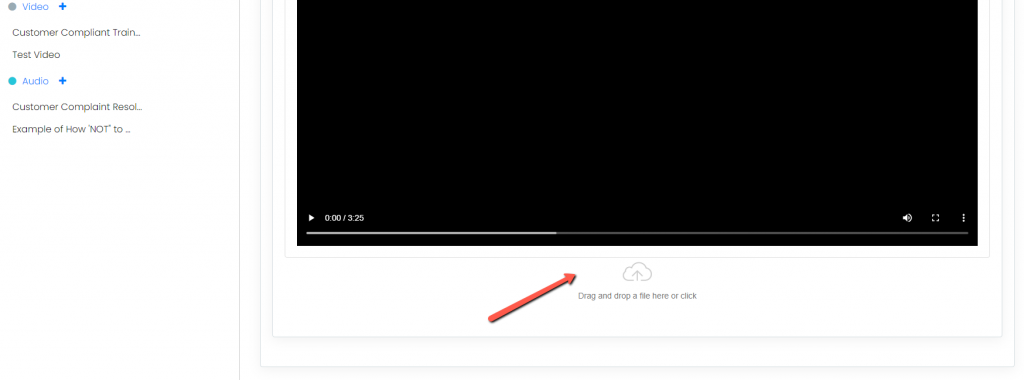
- Video and Audio: Files will automatically save when uploaded or dragged into the upload field
- Uploaded Files: Files will automatically save when uploaded or dragged into the upload field.


Continue below for additional resources:
- Documenting Work Processes
- Edit Title and Objective of Process
- Creating New Process Tools
- Editing Existing Process Tools
- Delete a Process Tool
- The Deleted Folder
- Archiving a Process Tool and the Archive Folder
- Printing and Downloading Process Tools
- Reordering Process Tools and Process Tool Items
- Inserting a Hyperlink
- Building Work Plans
- Deleting Tasks and Expectations
- Editing Existing Tasks and Expectations
- Check Lists
- Scripts
- Upload Files
- Documents
- Custom Forms
- Policy Notes
- Video
- Audio
- Using AI to Build Process Tools