- User Guides
- Getting Started
- Organization Chart
- Job Descriptions
- Four Key Functions
- Four Key Functions
- Sub Functions
- Adding Processes to the Four Functions
- Deleting Processes
- Moving Processes from One Key Function to Another
- Moving / Recording Processes within a Key Function
- Printing Process Lists
- Process Color Identification
- Mark a Process as Complete
- Adding From a Process Library
- Process Documentation Tools
- Documenting Work Processes
- Edit Title and Objective of Process
- Creating New Process Tools
- Editing Existing Process Tools
- Delete a Process Tool
- The Deleted Folder
- Archiving a Process Tool and The Archive Folder
- Printing Process Tools
- Saving Process Tools
- Reordering Process Tools
- Inserting a Hyperlink
- Building Work Plans
- Deleting Tasks and Expectations
- Editing Existing Tasks and Expectations
- Check Lists
- Scripts
- Upload Files
- Documents
- Custom Forms
- Policy Notes
- Video
- Audio
- Using AI to Build Process Tools
- My Processes
- My Employees
- Process Assignment
- Reports
- Account Administration
- User Settings
- Training Webinars
- How to Videos
- Contact Support
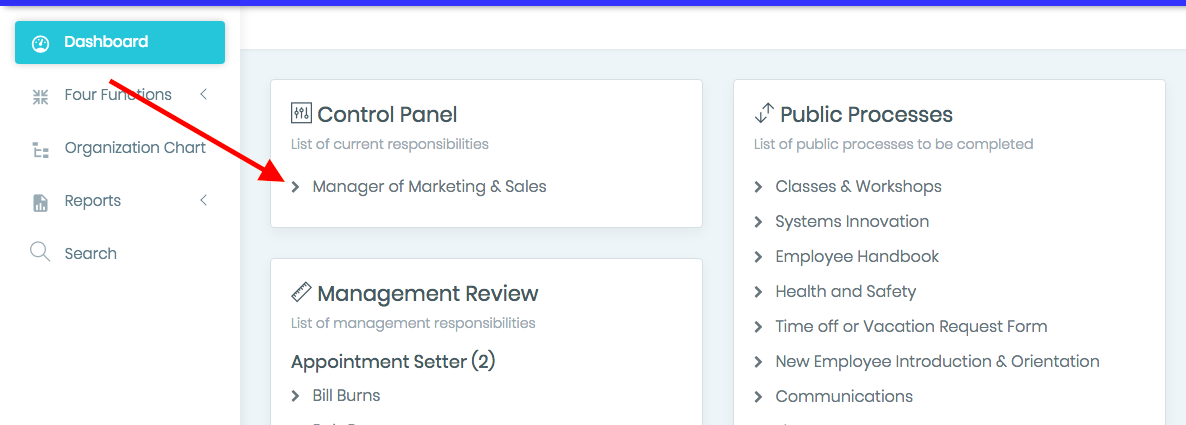
- Select the position title from the Dashboard to organize processes in “My Processes”.
- Organize processes by creating new groups and dragging and dropping process tools into those groups.
Note: Organize Processes by type of work (e.g., sales, managerial) and/or timing (e.g., daily, month end). Move work from the Default process list to your new groups. New processes added to a Job Description will appear on the Default process list and need to be moved to the appropriate group.
- Click “Create group” to create a new section for processes.

- Click “Save” to finalize the creation of the new group.

- Move processes by clicking and holding the title of the process, then dragging and dropping it into the new group.


Note: Click the group title to expand the list of processes in that group - Change the title of a group by clicking the “Edit Group” button, entering the new title, and selecting “Save.”

- Delete a group by clicking the red “Delete Group” button. Processes in the deleted group will automatically move to the Default Group.
Note: When deleting a group with processes in it, the processes will be moved to the Default Group.

- Reorder groups by dragging and dropping the group titles.

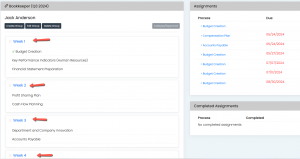
- For New Employee Training, groups can be created for training weeks and assigned to the New Employee one week at a time. With this method, New Employee Training can be timed and budgeted for. (Watch a Video on New Employee Training in My Employees) NOTE: My Employees was previously titled Management Review